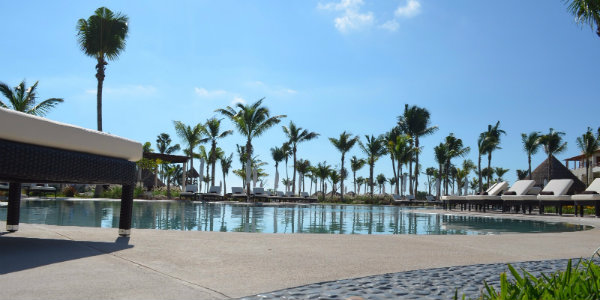
Travel agents have so many opportunities to capture breathtaking scenes, but not everyone is a professional photographer. The truth is, you can take stellar photos even if you don’t have a fancy, top-of-the-line camera or professional editing software. Today it’s completely possible to take high-quality photos with your phone, especially with the continued enhancements to smartphone cameras and mobile editing apps.
Either way, the goal is to help you show off and sell the destinations you’ve visited! These five tips will give you a crash course in taking clean, more composed pictures.
1. Play Around with Perspective

Don’t just start snapping photos. Take a moment to look around for the best angle. Photograph from below or shoot from above. If it’s possible, stand up on a chair or sit on the ground for a more striking point of view. By pointing your camera upwards, objects in the foreground will appear much bigger than they really are. It’s all about showing a scene in a creative, fun way.
2. Use the Rule of Thirds

The Rule of Thirds means mentally dividing up your image evenly using two horizontal lines and two vertical lines. You then position the important elements in your scene along those lines, or at the points where they meet. In fact, many smartphones have a setting you can turn on for the Photo/Camera app that will show the Rule of Thirds gridlines. This technique makes for more visually interesting photos by taking your subject out of the exact center of the frame.
3. Frame Clear of Distractions

It can be difficult to highlight travel scenes or destinations because some elements are just out of your control, like other people. Patience can pay off, however! Just take a moment or two to let passersby exit the shot before taking it. Also clear the frame of any unwanted elements like tree limbs, lamp posts, trash cans and anything else that might detract from your stunning photo. Also be aware of objects behind people. No one likes to see a photo of themselves with a lamp photo or branch sticking out of their head!
4. Keep Memory Cards in your Pocket or Purse

Keeping extra memory cards is a great idea because they can fill up quickly! Just remember to place them in a separate space than with your gear when they are full. A camera can always be replaced, but a once-in-a-lifetime image can not. To stay organized, it’s a good idea to label your memory cards.
5. When to Use the Flash

Flashes work well when you need to balance exposure between a too-bright background and a too-dim foreground. If you are photographing a person in front of a sunny window or at the beach, and the sun is behind them, you will want to turn on the flash. The flash fills in their faces and ensures you see the details in the subject, as well as the background. Generally speaking, however, it’s best to leave the flash off. You can always brighten or lighten your photos when editing them later!
When you have a collection of eye-catching photos of your own, you can share them on your social media accounts, your website, and even in emails to instill a sense of wanderlust in your clients and prospective clients!
KHM Travel Agents, if you have more travel photo tips, feel free to share them in the Agents-Only Facebook Group.
Follow KHM Travel on Twitter, Instagram and Facebook for more marketing tips and ideas for travel agents. You can also view more photos taken by our staff on our Flickr page.
KHM Travel Group provides our independent travel agents with all the marketing skills and resources needed to be successful. Learn more on how to start a travel agency from home by requesting our free information packet. Just fill out of the form on the right side of the screen or calling 1-888-611-1220.


