By Brian G. Miller, The Travel Tutor
A mobility scooter can be a real lifesaver when it comes to getting around while traveling. With a bit of pre-planning, your scooter can go along any time you fly, even if you don’t have a direct flight, to make your vacation travel more convenient, less expensive, and more fun.
Here are 13 tips to help take your mobility scooter along the next time you fly on an airplane.
1. Check out TSA Pre-check.
If you don’t already have TSA Pre-Check, get it. It will save you immeasurable time and trouble at the airport. A 5-year membership lets you move quicker through security without removing your shoes, laptop, liquids, belt, and light jacket. Apply online, go to most local airports for a 10-minute interview, and you’ll receive a Known Traveler Number (KTN) that the airline will put on your ticket and boarding pass.
If you travel internationally, consider getting Global Entry. A Global Entry includes TSA Pre-Check and also gives you expedited access through Customs and Immigration when coming back into the U.S.
2. Learn the rules.
Call or check your airline’s website (search Disabilities) for information and requirements on taking a mobility scooter/wheelchair onboard. Some airlines, like Southwest, have a form you can fill out and take with you. You need the specs (measurements, weight, battery type, etc.) for your scooter. Be careful you don’t just check every box that mentions wheelchair: you might end up with one waiting as you and your scooter deplane.
3. A day at the park.
You can park off-airport, but leave yourself plenty of extra time. When you check into the lot, ask if there is somewhere special to park since you have a scooter. The shuttle bus driver will help you load a lighter weight travel scooter that comes apart into several pieces. Generously tip your driver for the extra service. You may have to wait for a second (or even third) shuttle to have room for you since you have a lot of gear.
If you have a full-size scooter, consider dropping it off at the airport while your travel partner parks the car or park on airport property within scooting distance.
4. The battery is kind of a big deal.
Dry cell (non-spillable) can remain with the scooter. Wet cell (spillable) batteries may need to be checked in the cabin. You will have to remove a lithium Ion battery and carry it onboard. Know which type you have before you get to the airport.
Some airlines may place a sticker on the battery at check-in. Make sure your battery is fully charged before your trip. Don’t forget your power cord in your carry on for emergency charging.
5. Luggage tag, you’re it.
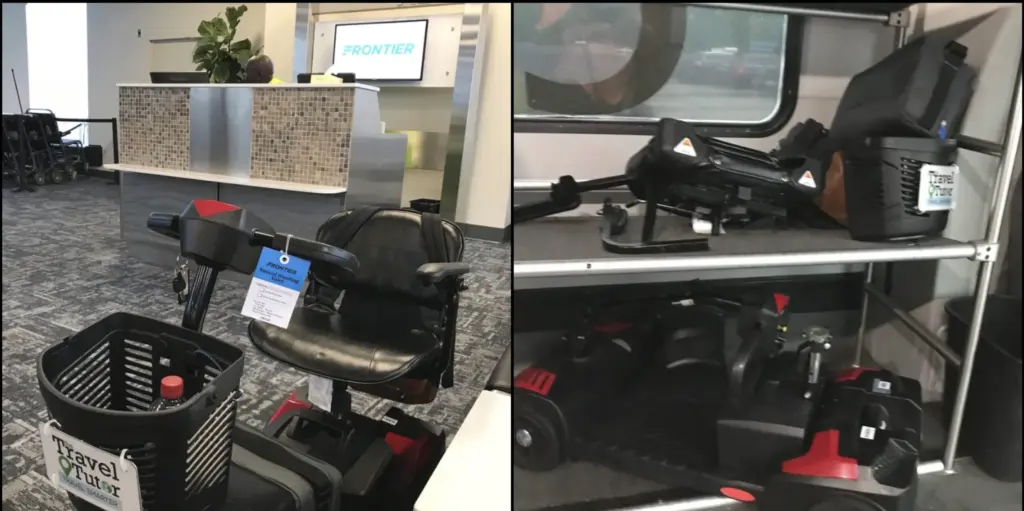
Make sure you have a luggage tag with your contact information securely on your scooter before you leave home. Tape a business card (or make your own) to the base of the scooter as a back-up.
6. Take a selfie of your scooter.
Photograph your mobility scooter with your smartphone before you check in to show its general condition. Are there any scrapes or breaks in the main plastic parts? The photos will be time and date stamped in case you have to make a damage claim with the airline on the other end.


7. First stop: main check-in.
You can check the scooter at the main departure desk for free if you’re on a direct flight. But then you’ll need help to get to the gate with either a wheelchair or electric cart.
Recommendation: stop at main check-in (even if you’re not checking a bag) to remind them of your special situation and provide any forms you’ve already filled out. They may give you a gate-check tag for the scooter and battery sticker here. You can now drive your scooter directly to the gate.
8. Scoot slowly but surely through security.
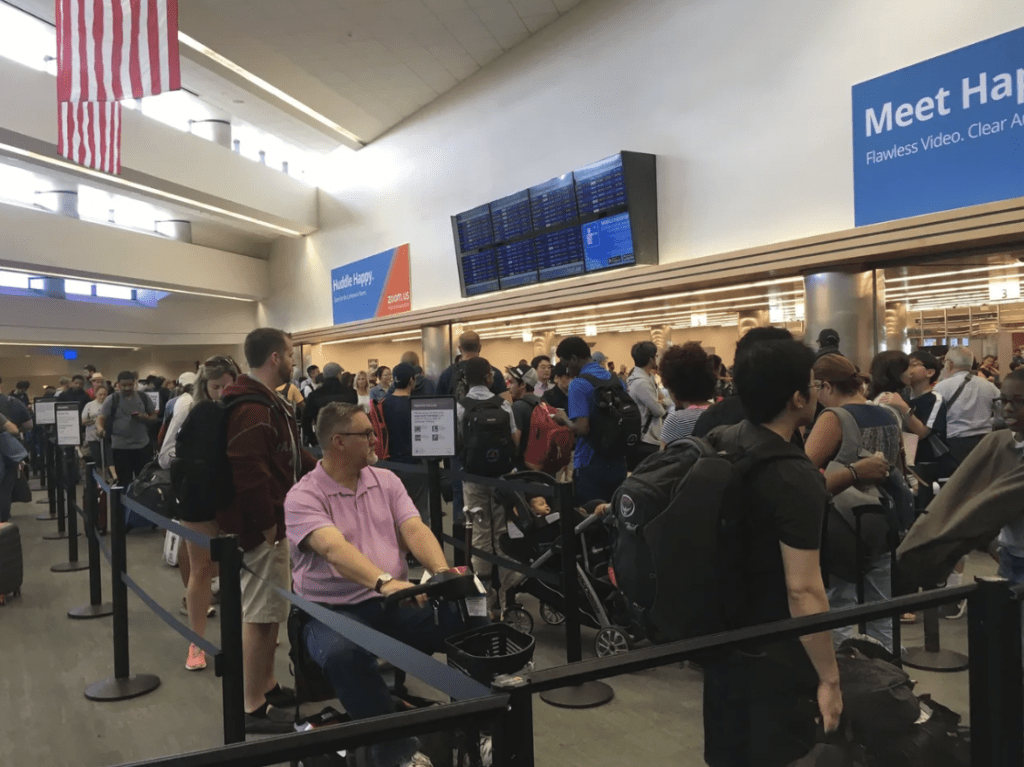
TSA Pre-Check puts you in the shortest line: if you don’t have it, you can be looking at a lot of switchbacks and delays in the long lines. TSA Pre-Check means you keep your shoes/belts/light jackets on, computers in their bags, and reduces your chance of having to go through the complete drill.
You still put your carry on items in bins. You may have to walk through a metal detector or body scanner if you’re able, while TSA Agents swab your scooter. If you’re not able to stand, agents will use a wand on you and the scooter, and maybe swab you both as well.
9. Drive right to the plane’s door.
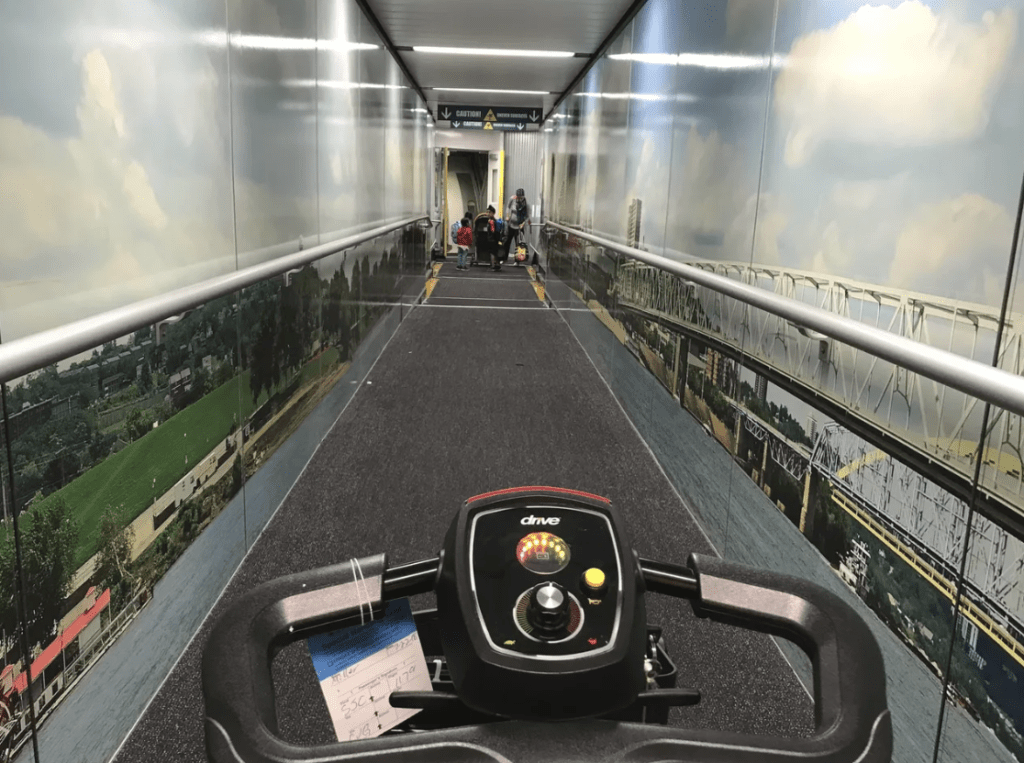
Check in again at the gate so they know your situation. Ask if you can ride down the jet way and get a gate-check tag if you don’t already have one. If you have a plastic basket, consider leaving it at home or taking it on the plane with you to avoid damage in the cargo bay.
You can check your scooter at the gate just like a stroller. The service is free and doesn’t count toward your luggage total. It will be returned once you land.
10. Now (pre) boarding.
No matter where your seats are, take advantage of the call for pre-boarding passengers who need extra assistance. If you need assistance from there to your seat, the airline will help with an aisle wheelchair that fits between the seats.
11. To key or not to key?
Take your scooter key so it doesn’t get lost or accidentally turned on during the flight. Show the airline person who takes possession of the scooter where the neutral switch is to roll the scooter by hand.
12. Slow and steady wins the race.
Plan to be one of the last people off the plane (especially if you need an aisle wheelchair). That’s okay, because your scooter has to be unloaded from the cargo bay. Ask the flight attendant at the door where your scooter will return: the jet way right off the plane or the top of the jet way in the airport.
Leave plenty of time for connecting flights to move through the second airport to your next gate and check in again. Minimum layover: at least an hour.
13. Welcome back, scooter.
Once returned, check the scooter for damage. If there is a problem go straight to the personnel at that gate and report it.
Just like on a cruise ship, taking your mobility scooter on a plane takes a bit of time and effort, but once you arrive at your destination, you’ll be glad to have it along.
Photos by Brian G. Miller.
Brian G. Miller is a travel advisor and writer with The Travel Tutor in Louisville, Kentucky. He specializes in ocean cruises, group travel, accessible travel, and bourbon tourism. He also writes about bourbon at The Bourbon Tutor.


